
You finally unboxed that sleek new dresser or modern bed frame, only to realize the assembly process feels like solving a 3D puzzle with a manual written in hieroglyphs. The living room is a sea of cardboard, Styrofoam, and mysterious wooden dowels. It is a familiar scenario for anyone buying home goods today. Fortunately, professional assemblers rely on a repeatable, logical process that prevents stripped screws, uneven drawers, wobbly frames, and scratched floors. By following furniture assembly tips from pros, you can transform a frustrating chore into a smooth, satisfying project. This guide covers everything you need to know: preparation, essential tools, assembly sequencing, common errors to avoid, room-specific strategies, and how to know when to call in a professional.
Why Professional Assembly Technique Matters
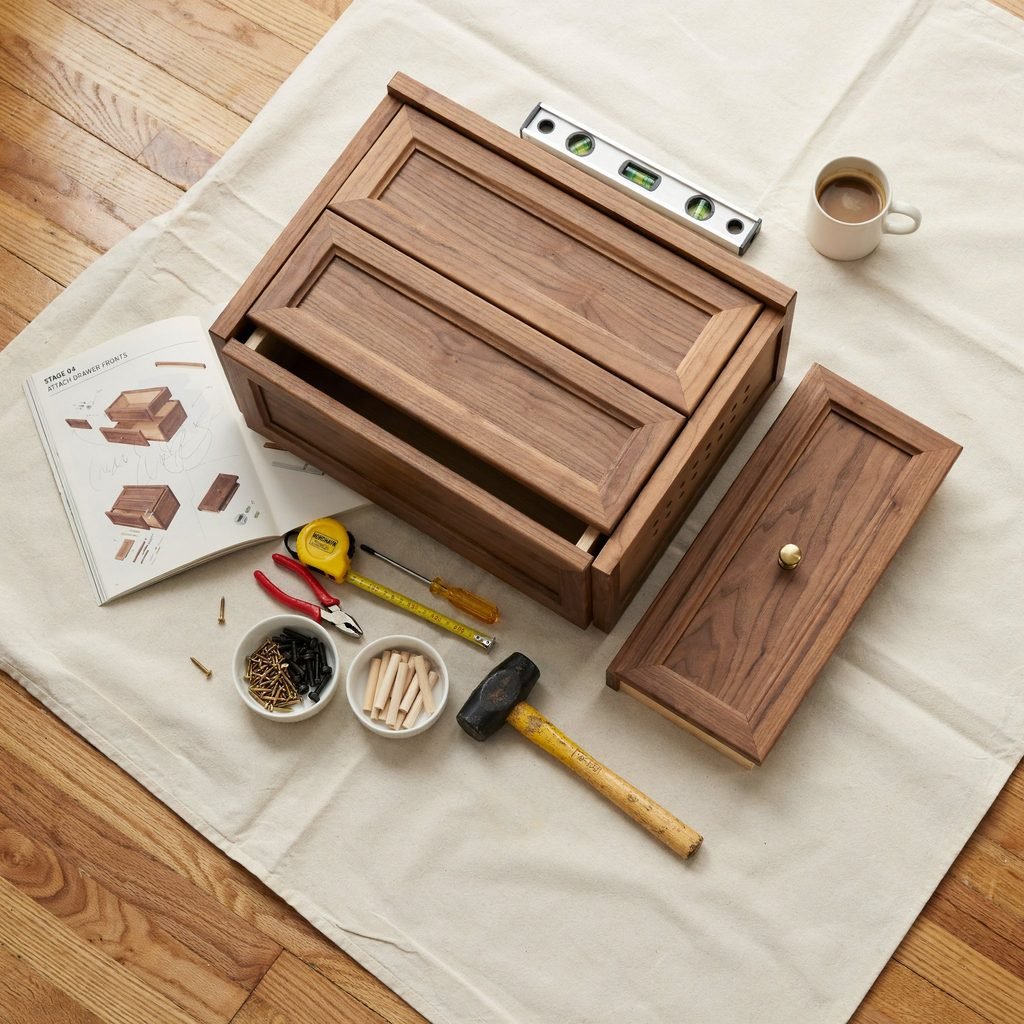
When figuring out how to assemble furniture correctly, technique is just as important as the instructions. Most DIY frustrations and damaged pieces stem from rushing, skipping steps, mixing up hardware, or over-tightening fasteners. Professional assemblers approach flat-pack items systematically: they stage parts, verify hardware, protect surfaces, and align the entire frame before applying final torque.
A pro knows that a secure joint should fit closely, with no large gaps, visible separation, or movement under normal pressure. They also understand the structural limitations of engineered woods. By adopting a professional mindset, you ensure your furniture remains sturdy, level, and safe for years to come. Furniture assembly tips from experts focus heavily on patience and precision, ensuring that the time you spend aligning parts saves you from having to disassemble and rebuild a wobbly bookshelf later.
Prepare Before You Open the Boxes
Successful furniture moving and assembly begins long before you touch a screwdriver. Assembling large furniture in the wrong room is a classic blunder; building a massive wardrobe in the living room only to realize it won’t fit through the bedroom doorway is a frustrating, sometimes impossible, predicament. Always assemble large items in the room where they will ultimately live.
Use this furniture assembly checklist to set the stage for success:
- Move all boxes into the final room before breaking the seals.
- Measure clearances: Double-check doorways, hallways, stairs, and elevator dimensions to ensure the assembled piece can fit through them if you ever move it.
- Clear a large, flat work area: Give yourself plenty of room to maneuver panels without bumping into walls.
- Protect surfaces: Lay down a blanket, moving pad, or the flattened cardboard boxes to protect your floors from scratches and your furniture panels from scuffs.
- Check every carton against the packing list: Ensure you have all boxes for multi-piece items (like a bedroom set).
- Keep instructions and hardware together: Store the manual and all small hardware bags in a single, safe container.
- Sort and label: Sort screws, dowels, cam locks, washers, brackets, and drawer slides into labeled cups or small bags.
- Inspect for damage: Check for cracked panels or missing parts before beginning, so you can request replacements immediately.
Read the Instructions Like a Pro
It is tempting to toss the manual aside and start matching holes, but reading the instructions like a pro is crucial. Scan the entire manual before touching a single tool. Take time to identify directional panels, finished versus unfinished edges, left and right drawer slides, and pre-drilled hole alignments. Pay special attention to steps that explicitly require two people.
If you lose the paper manual or it gets damaged, most major retailers and manufacturers provide digital copies on their websites. Download a PDF version to your phone or tablet. Following the specified order matters immensely; later holes and panels will not align correctly if earlier foundational steps are done out of sequence. Furniture assembly for beginners always starts with a thorough read-through.
The Essential Furniture Assembly Toolkit
Having the right furniture assembly tools on hand prevents delays and damaged hardware. While many flat-pack items include a tiny, uncomfortable Allen wrench, upgrading your toolkit makes the process significantly faster and easier on your hands.
- Phillips and Flathead screwdrivers: Various sizes for different screw heads.
- Rubber mallet: Essential for gently tapping wooden dowels and panels into place without marring the finish.
- Tape measure: For verifying dimensions and clearances.
- Level: Crucial for ensuring cabinets, dressers, and shelves are perfectly plumb.
- Utility knife: For safely opening boxes without scratching the panels inside.
- Allen wrench/hex key set: T-handled hex keys provide better leverage than the flimsy L-shaped ones included in the box.
- Power drill with adjustable torque: Speeds up driving screws.
- Stud finder: Necessary for locating wall studs when anchoring tall furniture.
- Wall anchors: Heavy-duty anchors appropriate for your specific wall type.
- Furniture pads or blanket: For protecting floors and the furniture finish.
- Small containers: Muffin tins or magnetic trays keep hardware organized.
Caution: Power tools can dramatically speed up assembly, but excessive torque is the enemy of particleboard furniture assembly. High speed can strip screws, crack the engineered wood, or strip out delicate cam locks. Use your drill on a low torque setting to start the screws, and always hand-tighten the final turns, especially when learning how to tighten furniture screws securely without causing damage.
The Pro Assembly Sequence: Build From the Base Up
Professional assemblers follow a specific workflow to guarantee structural integrity. When tackling a large item, build from the base up using this step-by-step sequence:
- Unbox and inventory: Open all boxes and verify every part against the manual.
- Group hardware by step: Place the hardware needed for step one in a cup, and set aside hardware for later steps.
- Identify panels and orientation: Lay out the pieces in the order they will be assembled, noting top/bottom and inside/outside edges.
- Build the structural base first: Assemble the bottom frame or legs to create a solid foundation.
- Attach side panels, rails, and supports: Connect the vertical pieces to the base.
- Check for square: Before securing the back panel, measure diagonally from corner to corner. If the measurements match, the frame is square.
- Install the back panel: Nail or slide the back panel into place. This piece is what prevents the unit from swaying side-to-side.
- Add drawers, doors, shelves, and exterior hardware: Install the moving parts only after the main carcase is fully assembled and square.
- Level the furniture: Use a level and adjustable feet (if provided) to ensure the unit sits flat.
- Test and adjust: Open and close all drawers and doors, adjusting hinges as necessary.
- Anchor: Secure tall furniture to the wall before loading it with heavy items.
Pro Secret: Leave fasteners slightly loose during the initial alignment phase. If you tighten every screw immediately, you remove the “wiggle room” needed to align subsequent panels. Once the entire frame is assembled and square, go back and fully tighten everything.
Common Furniture Assembly Mistakes—and How to Avoid Them
Even experienced DIYers fall into common traps. Here is a breakdown of frequent furniture assembly mistakes, their consequences, and how professionals fix them.
| Common Mistake | The Consequence | The Professional Fix |
|---|---|---|
| Skipping the parts inventory | Realizing a crucial cam lock is missing halfway through, or finding extra parts at the end. | Count and sort every piece of hardware into labeled containers before starting. |
| Installing a panel backward | Unfinished edges face outward, or pre-drilled holes are in the wrong place. | Double-check the manual for finished edge indicators and hole alignments before attaching. |
| Mixing similar screws | Using a long screw in a short hole, which punches through the veneer and ruins the panel. | Lay out screws side-by-side to compare lengths. Never force a screw that feels too long. |
| Tightening every screw too early | Misaligned panels, drawers that stick, and doors that won’t close. | Leave hardware at 80% tightness until the main structure is fully assembled and square. |
| Over-tightening particleboard | Stripped holes, cracked MDF, and weakened joints that fail under weight. | Stop turning the screwdriver the moment you feel resistance. Never use impact drivers on particleboard. |
| Installing drawer slides backward | Drawers that scrape, stick, or fall out of the tracks. | Verify the “wheel” or ball-bearing placement matches the manual’s diagram exactly. |
| Forcing a wooden dowel | Splitting the surrounding particleboard or snapping the dowel inside the hole. | Tap gently with a rubber mallet. If it won’t go in, check for debris in the hole or a misaligned panel. |
| Assembling on an uneven floor | A twisted frame that wobbles or causes drawers to bind. | Assemble on a flat surface or use shims under the base during the build to keep it level. |
| Dragging assembled furniture | Snapping the legs off a dresser or scratching hardwood floors. | Always lift and carry furniture. Use furniture sliders if you must move it across a room. |
IKEA and Flat-Pack Furniture Assembly Tips
Flat-pack furniture assembly, particularly from brands like IKEA, relies heavily on cam locks, wooden dowels, and particleboard panels. These materials require precise alignment and a gentle touch. IKEA furniture assembly tips from experts always emphasize sorting hardware meticulously, as a single misplaced cam lock can halt your progress.
When inserting wooden dowels, apply a tiny drop of wood glue if the manufacturer recommends it, and tap them in gently with a rubber mallet. Never use a metal hammer, which will mushroom the wood and prevent the panels from sitting flush. When securing cam locks, ensure the arrow on the cam points toward the hole where the metal pin enters. Do not fully tighten the cam lock until the two panels are perfectly aligned and pressed tightly together.
Many modern flat-pack manufacturers now provide interactive, digital assembly instructions via QR codes on the box. These 3D animations are often much easier to follow than 2D line drawings. Additionally, if you opt for a delivery service that includes setup, verify that their furniture installation tips include the installation of safety hardware, not just the basic build.
Room-by-Room Assembly Tips
Different rooms present unique challenges when it comes to furniture assembly. Here is how to tackle specific spaces:
Bedroom
When you assemble a bed frame, ensure the center support legs are firmly touching the floor or are adjusted to bear weight; otherwise, the mattress will sag. When you assemble a dresser, pay close attention to the drawer glides. If the drawers stick, loosen the screws on the tracks slightly, adjust the alignment, and retighten. Always anchor tall dressers and wardrobes to the wall to prevent tip-overs.
Living Room
Media consoles and TV stands must support immense weight. Ensure all cam locks and structural bolts are fully tightened. For tall bookshelves and decorative shelving units, wall anchoring is non-negotiable. Use a stud finder to secure the unit directly into the wooden wall studs for maximum stability.
Home Office
Desks often feature complex cable management trays and motorized lift mechanisms. Keep track of the various screw lengths used in the desktop versus the frame. For filing cabinets, test the drawer glides before placing them on their final casters. Ensure monitor arms are bolted into solid wood or metal, not just the thin particleboard of the desktop.
Dining Room
Dining tables require perfect leg stability. Assemble the table upside down on a soft blanket, attach the legs, and then carefully flip it with a helper. Check leaf extensions to ensure the metal tracks slide smoothly and lock securely into place.
Kids’ Rooms
Safety is the absolute priority here. Bookcases, dressers, and toy storage units must be anchored to the wall. Keep all small hardware, plastic bags, and tools completely out of reach of children during the assembly process.
Furniture Safety: Anchoring, Lifting, and Stability
Furniture anchoring safety is one of the most critical, yet frequently ignored, aspects of home setup. Tall, front-heavy items like dressers, bookcases, and wardrobes are prone to tipping if a child climbs on them or if multiple heavy drawers are opened at once. A reliable tip-over restraint kit—usually consisting of a nylon strap or metal bracket, a wall anchor, and a furniture screw—can prevent a fatal accident.
Wall anchors must match your wall type. Standard drywall requires toggle bolts or heavy-duty drywall anchors, while plaster, brick, or concrete require specialized masonry anchors. Whenever possible, screw the restraint directly into a wooden wall stud.
Disclaimer: Tall or heavy furniture should always be anchored according to the manufacturer’s instructions and local safety guidance to prevent dangerous tip-overs.
To avoid furniture wobble, check the floor before placing the piece. If the floor is uneven, use wooden shims under the base and trim them flush. When moving heavy boxes or assembled pieces, always lift with your legs, not your back, and utilize two-person help for awkward, heavy items like sofas or solid wood hutches. Never drag assembled furniture across hard floors, as the lateral stress can easily snap the joints or feet.
When to Hire a Professional Furniture Assembly Service
DIY furniture assembly is a great way to save money, but it requires time, patience, and physical capability. Tackling small tables, basic chairs, and simple shelving units is usually manageable for most homeowners. However, professional furniture assembly is often worth the investment for more complex scenarios.
Consider hiring a furniture assembly service if you are dealing with:
- Massive, multi-piece modular wardrobes or custom closet systems.
- Bunk beds, loft beds, or Murphy beds, which require strict structural adherence.
- Heavy safes or complex office furniture with integrated electrical components.
- Items that require intricate wall mounting or heavy-duty anchoring.
The benefits of hiring a pro include faster setup, correct hardware installation, zero risk of accidental damage from stripped screws, and the peace of mind that safety restraints are installed correctly. Before hiring a service, ask a few vital questions: Are they insured? Do they haul away the cardboard and packaging? Do they install tip-over restraints as part of the standard price? What exactly is included in the flat-rate fee?
Frequently Asked Questions (FAQ)
What tools do I need to assemble furniture?
At a minimum, you need a Phillips and flathead screwdriver, an Allen wrench (hex key), a rubber mallet, and a tape measure. A power drill with adjustable torque and a level are highly recommended for larger pieces.
How do I stop furniture from wobbling?
Ensure the furniture is built on a flat surface and that all structural screws are fully tightened. If the floor is uneven, use wooden shims under the base, or adjust the leveling feet if the furniture has them.
Should I tighten all screws at once?
No. Leave screws and cam locks slightly loose during the initial build. This allows the frame to shift and align. Only fully tighten the hardware after the main structure is completely assembled and square.
How do I assemble IKEA furniture more easily?
Sort your hardware into separate bowls before starting, use a T-handled hex key instead of the included L-wrench to save your hands, and never fully tighten cam locks until the panels are perfectly flush and aligned.
Do I need to anchor furniture to the wall?
Yes, any tall or front-heavy furniture (like dressers, bookshelves, and TV stands) should be anchored to the wall using a tip-over restraint kit to prevent dangerous tipping accidents.
How long does furniture assembly take?
Simple items like nightstands take 30–60 minutes. Large dressers or bed frames can take 2–4 hours. Complex modular systems or PAX wardrobes can take an entire day.
When should I hire a furniture assembly service?
Hire a pro if you lack the physical strength to lift heavy panels, do not have the necessary power tools, are short on time, or are assembling complex items like Murphy beds or large modular wall units.
Conclusion
Successful furniture assembly tips from pros all point to the same core principles: meticulous preparation, extreme patience, correct sequencing, and an unwavering commitment to safety. By clearing your workspace, reading the instructions thoroughly, utilizing the right tools, and refusing to rush the alignment process, you can build beautiful, sturdy furniture that lasts.
Remember to use our checklist before opening your first box, avoid the temptation to over-tighten fasteners into particleboard, and never skip the crucial step of anchoring tall pieces to the wall. If a project feels too massive or complex, there is no shame in calling a professional service to get the job done right. Save this furniture assembly checklist before your next flat-pack delivery, and enjoy the satisfaction of a perfectly built home.